What is an Oxygen Sensor?
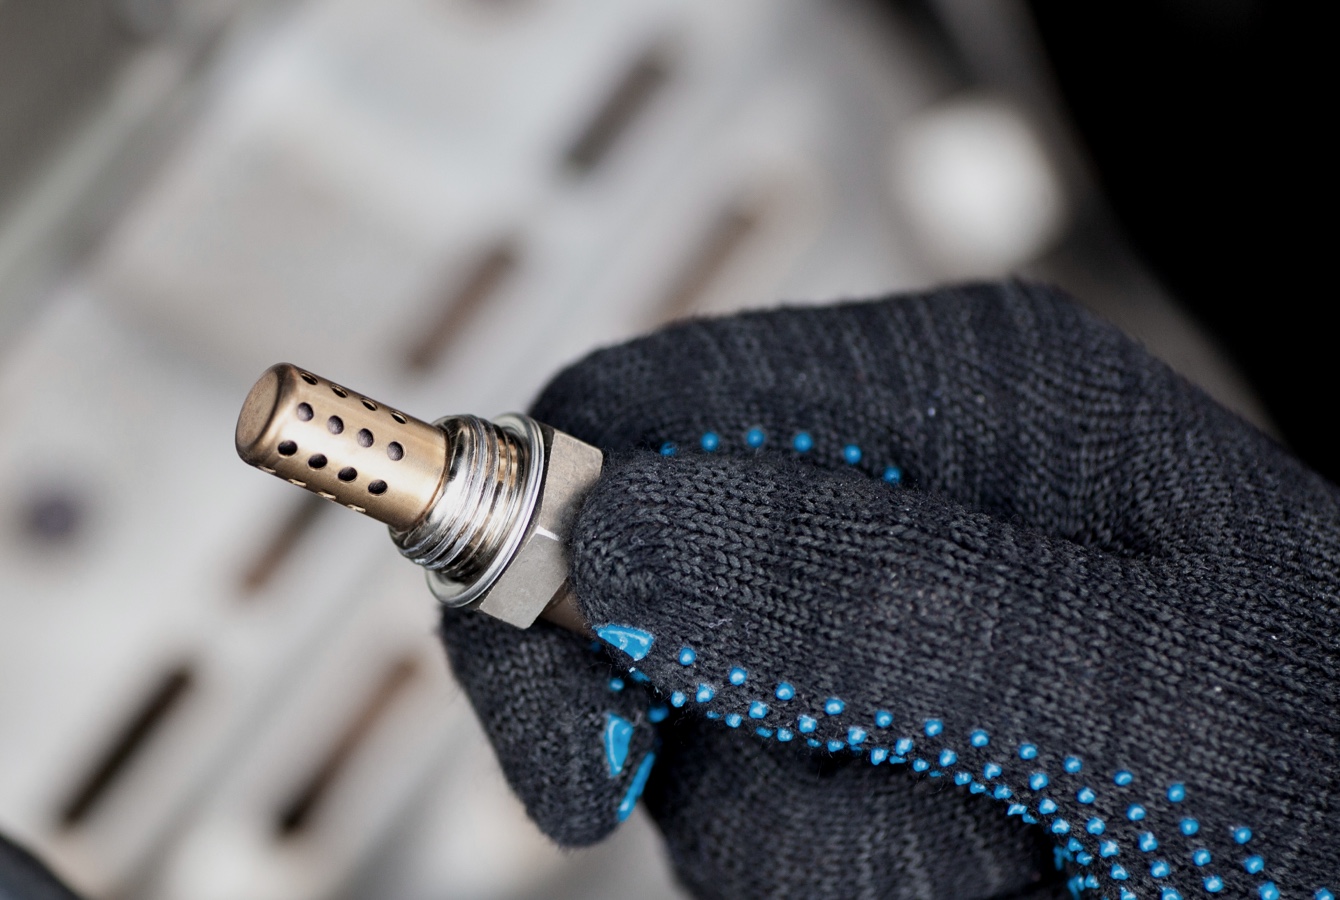
Crucial to engine efficiency and emissions compliance, the oxygen sensor (also known as an O2 sensor) is responsible for measuring the amount of unburned oxygen that is in the exhaust. The Electronic Control Unit (ECU) uses the information to determine the right air-fuel mixture for the engine to complete the combustion process. Working in real time, the ECU adjusts the fuel injection when necessary.
-1748376554767.jpg)
Is Replacing an O2 Sensor an Easy Repair? How Long Does It Take?
With a little know-how, installing a new oxygen sensor is a repair that an experienced DIYer can do. Depending on the location of the sensor, the repair could take only 10-15 minutes. If the sensor is in a hard-to-reach area, the repair could take over an hour.
Locating the Oxygen Sensor
Oxygen sensors can be found along the exhaust system. Upstream sensors are typically found below the exhaust manifold flanges and above the catalytic converter while downstream sensors are located on the side of the exhaust pipe behind the catalytic converter. Check the repair manual to confirm the sensor location before beginning the repair.
Removing the Old Oxygen Sensor
Follow these steps for removing the old O2 sensor – please note that these are general directions, specific steps may differ for your vehicle.
- Allow the engine to completely cool down before removing a sensor.
- If you need to go under the vehicle to reach a sensor and you don’t have a lift, safely jack up the vehicle.
- Push the tab down and pull the two halves apart to disconnect the electrical wire.
- Begin to loosen the sensor with a socket and finish removal by unscrewing it by hand.
- If the sensor is corroded and difficult to remove, use some penetrating lubricant on the threads to loosen it. If that doesn’t work, heating the area around the sensor can expand the metal and break the corrosion.
Installing New O2 Sensor
Here are some tips for successfully installing the new oxygen sensor.
- Before installing the new sensor, compare it to the old one to ensure that they match exactly. Install the new sensor in the same location and orientation as the old one.
- Put anti-seize lubricant on the sensor threads. Avoid getting any lubricant on the body of the sensor.
- Start threading the sensor in place by hand by turning it clockwise; avoid cross-threading it. Complete installation by torquing it to manufacturer’s recommended settings.
- Keep the sensor’s cover 1" away from the hot exhaust to prevent the wires from overheating.
- When reconnecting the wiring, make sure the wiring is routed correctly and that the connections are secure.
- Use a scan tool to clear any trouble codes. If you don’t have a scan tool, disconnect the battery for a few minutes.
- Start up the vehicle and confirm that the check engine light is no longer illuminated.
Learn more about quality brakes, find your car part, or find where to buy your auto part today.
The content in this article is for informational purposes only. You should consult with a certified technician or mechanic if you have questions relating to any of the topics covered herein. Tenneco will not be liable for any loss or damage caused by your reliance on any content.